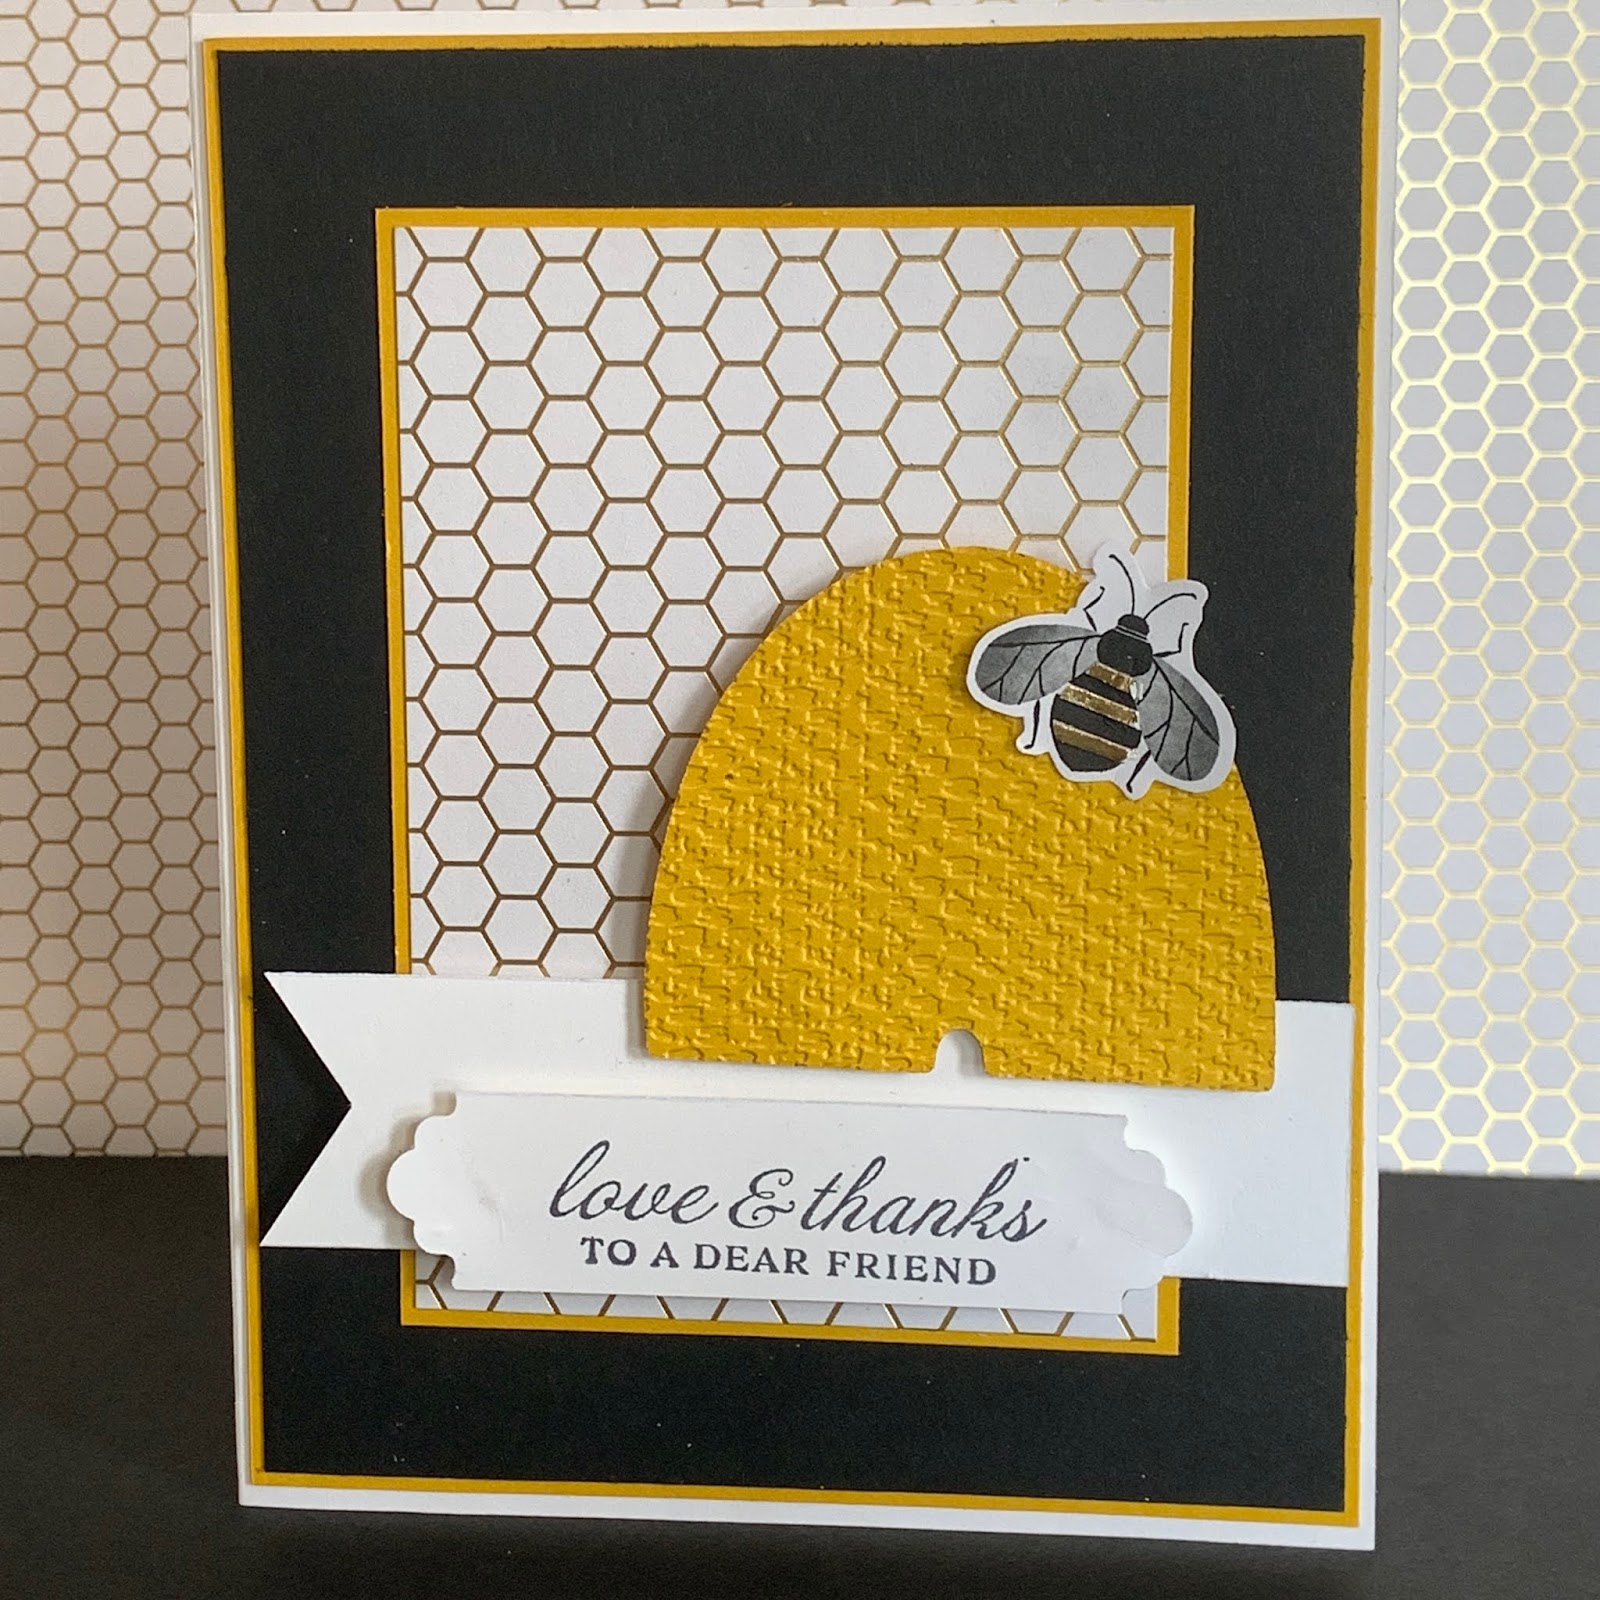
Wednesday, August 26, 2009

Spotlight on Decor Elements - Photo Wall Collage

I have a very large wall in my Stampin' Studio sitting area that has needed something for quite awhile. I mentioned in my last Spotlight on Decor Elements post that we recently repainted and had to remove the Home is Built of Love & Dreams image from the living room. I reordered one in black this time (to match the frames and the couch) and decided to create a wall collage out of my favourite photos and Decor Elements. The wedding photo was one of those really expensive, but what am I going to do with it 13 years later kind things. The rest of the frames were purchased from the clearance rack at Zellers. I love that they don't all match!
To create the collage, I began by ironing that long crumpled paper that comes in the Stampin' UP boxes. I then traced each frame onto the paper and cut them out. This way I was able to decide exactly where they went on the wall and hanging them was a breeze.
I initially bought the flourishes when Decor Elements were first released, but I must confess that I didn't really know what to do with them. Tucking them behind the photos adds the perfect touch and ties the collage together.
The whole project turned out even better than I imagined and adds a new warmth to my studio. Best of all, with the exception of that really expensive, somewhat dated wedding photo, I can switch out the photos to keep things fresh!

Monday, August 24, 2009

New Night & Day Paper!

How gorgeous is this new Designer Series Paper? It will be available with the release of the Holiday Mini Catalogue. I love most paper, but this is by far my favourite of all the patterned papers Stampin' UP! has ever released. I created this layout for this week's Scrapping Out Loud challenge - use tissue paper on a layout. I decided to work on it at the cabin, so I had to stick to the supplies I grabbed as I headed out the door. The result is a simple layout that came together very quickly.

Wednesday, August 19, 2009

Animal Stories Pop Up Card

Wow two posts in one week. It's been a long time since I've done that! I've had the inside of this card half finished for weeks, but I never got around to finishing the outside of it, probably because I kept making mistakes and adding more pieces which didn't look quite right. I was inspired by yesterday's Mojo Monday Sketch for the front of the card. The inside uses the Pop Up Cake Die and the Animal Stories Stamp Set (which also can be found in the Growing Up section of the Catalogue.

Stamps: Animal Stories, Teeny Tiny Wishes
Ink: Brilliant Blue, So Saffron, Chocolate Chip
Accessories: Pop Up Cake Die, Modern Label & Word Window punches, Designer Series Buttons, 5/8" Ribbon, Scallop Edge Punch
Paper: Tall Tales Designer Series Patterned Paper, Brilliant Blue, Chocolate Chip


Tuesday, August 18, 2009

Pony Party Birthday Card

I had some time to play in my stampin room today. My horse lovin' daughter fell in love with this stamp set the very first time she saw it in the new catalogue. I ordered it right away, but I must confess this is the first time it's seen ink.
This stamp set can be found in the Growing Up section of the Idea Book & Catalogue, meaning it can be used as part of an order qualifying for Stampin' UP!'s Growing Up promotion. Spend $45 CAD before shipping & taxes on stamp sets from the Growing Up section and receive a free package of Designer Buttons!
Stamps: Pony Party
Paper: Razzleberry Lemonade, Melon Mambo, Soft Suede, Bermuda Bay, Whisper White, Paper Vellum, Shimmer White Cardstock
Ink: Basic Black, Melon Mambo, Bermuda Bay
Accessories: Blossom Party Die, Modern Label Punch, Word Window Punch, Build-a-brad, Top Note Die, SU Backgrounds Texturz Plate, iridescent ice embossing powder, scallop edge punch

Wednesday, August 12, 2009

Spotlight on Decor Elements - Change it up!

Wow, Summer is flying by and I've spent more time cleaning and decorating my Stampin' Space than I've spent stamping in it! I'm pleased to say that I'm almost done and it will be ready when clubs and classes resume in the fall. In the meantime, I want to spend the next few days showing you what I've been doing with Stampin' UP!'s Decor Elements.


We painted our house this Spring, which meant that the "Home is Built of Love & Dreams" that I earned as a hostess during the last catalogue period, had to come down. While it was tough emotionally to peel off something that I had only put up a couple of months earlier, it literally was a breeze to take down. Here's what I learned from removing this piece:

1. It literally peels right off the wall.
2. It does not take off a speck of paint.
3. It does not leave a mark whatsoever.
4. When Stampin' UP! says that it is not reuseable, they mean it. I thought I'd be really careful and save part of it. No such luck. I managed to get the "me" off in one piece and stick it on a 12x12 album cover with the intention of using it as an "All about me" album. It looks terrible - full of creases and bubbles where the vinyl had stretched. I'll be peeling that off before long! I did, however, manage to peel off the letters for Dreams. I stuck them on the front of a frame, but have concluded that rub-ons would look better because I would have at least been able to apply them straight!
After painting the walls, I decided to put the frames back where they originally were. The pictures were taken five years ago, but they still make me smile. This time I added the large family decor element piece. I managed to earn another Home is Built of Love and Dreams piece thanks to a very large pre-order from the new catalogue. I'll show you what I did with that one in a post later in the week.


Did you know that Stampin' UP! is offering a limited edition Decor Elements growth chart as part of the August/September Just for Kids Campaign? I have one on order and will also be posting pictures of what I do with it later in the month. Buy the chart for $33.95 (CAD) and receive a free applicator tool.
Also part of the Just for Kits promotion in August, spend $45 (before shipping & taxes) on stamp sets from the Growing Up section of the Idea Book & Catalogue and receive your choice of designer buttons free! Download the flyer here.

Saturday, July 25, 2009

WANTED Scrapbook Page

It's been ages since I've actually sat down to scrapbook something for me - not for workshops or displays or gifts, but for me! I decided to participate in the challenge over at Scrapping Out Loud this week. The challenge was to distress a layout - perfect for me! I also stumbled across the color combination challenge over at Splitcoast Stampers, which was to use Really Rust, Not Quite Navy, and Pretty in Pink. I love the unexpected burst of pink in the combo and used it to bring out my daughter's pink riding helmet. I wasn't going to use patterned paper, but ended up pulling out my scrap box and liked the addition of the Outlaw (retired) paper. Other than that piece, however, everything else is current.

Stamp: Wanted
Paper & Ink: Pretty in Pink, Kraft, Really Rust, Chocolate Chip, Not Quite Navy
Accessories: Linen Thread, Fresh Favorites Buttons, Star Punches, Chipboard, etc


Tuesday, July 21, 2009

Love Word Album


Deal of the Week!

I love this week's deal. This week only you can purchase the Styled Vanilla Hodgepodge Hardware for only $26.99. That's over 30% off the regular price of $41.95!

Orders can be placed through me or online through my business website (click the 24 hour shopping button on the top left of this page)
I used the Styled Vanilla Hodgepodge Hardware on the following project. I apologize for all the retired elements in this album (as well as for the fact that the album itself is not Stampin' UP!, but rather purchased a long time ago at the local scrapbook store). With the exception of the album (Bo Bunny) and charms (from A Charming Place), however, everything else is Stampin' UP!. I started it back in January with the intention of displaying it for Valentine's Day. Obviously that didn't happen and I finally put the finishing touches on it this week. At this rate it will be another month before I get pictures added, so I decided to post it as it is. Enjoy!
The scallop envelope makes a great pocket for holding photos or journalling. The paper pieces on the back of the "O" and on the "V" pages also pull out for hiden journalling or additional photos. I've also created pockets in most of the other photo mats in the album in case I decide to add more pull out elements later when I add my photos.
The last page wasn't really a part of the original album, but I wanted the "E" to stand out a little more. I covered the cardboard backing that came in the package and instantly had another page.
Supplies Used:
Stamp: Love You Much
Ink & Cardstock: Close to Cocoa, Pink Pirouette, Riding Hood Red, Vanilla
Accessories: Big Shot (Dies: Birds & Blooms, Tulipe), Felt Flower Fusion 2, Pretties Kit, Small Hearts Punch, Scallop Circle Punch, Vanilla Hodgepodge Hardware, Jumbo Grommets, Jumbo Brads and more!